ChatGPT plugins are a recent addition to the AI chatbot, designed to significantly improve its functionality and user interaction. These plugins are essentially add-ons that can be installed onto the chatbot, providing it with additional capabilities beyond its standard language model performance. The introduction of these plugins represents a significant development in AI technology, turning ChatGPT into a more versatile tool that can cater to a wider variety of user needs.
For example, with plugins, ChatGPT might be able to browse the web for the most recent information, perform specific types of analysis, or interact with other software tools, thereby expanding its utility far beyond general conversation. This enhancement has made the chatbot even more popular and useful. However, to use these plugins, users need to follow some steps to enable and install them, as they are not available by default. The following guide provides a step-by-step process on how to install and use ChatGPT plugins.
Step 1: Get ChatGPT Plus Subscription
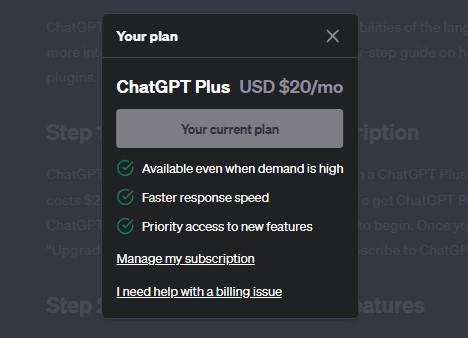
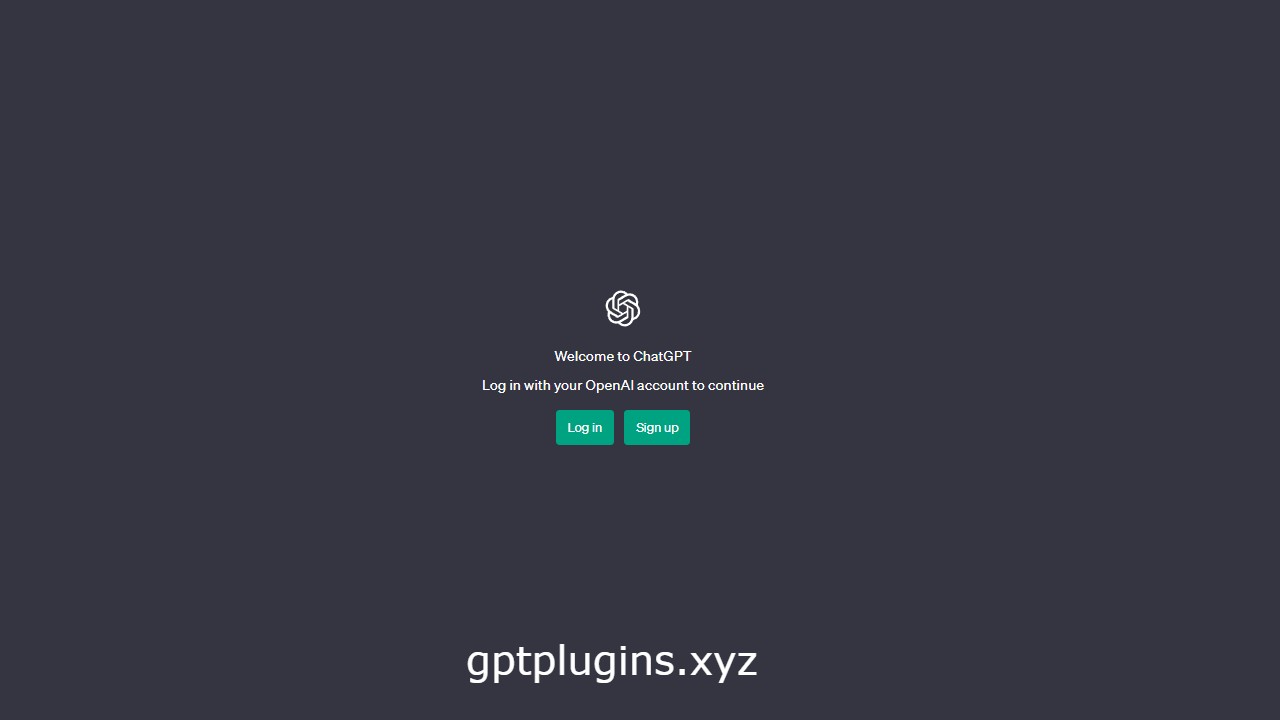
ChatGPT plugins are exclusively available through a ChatGPT Plus subscription. This service costs $20 per month and is available worldwide. To get ChatGPT Plus, log into your regular ChatGPT account and click on “Upgrade to Plus” to begin. Once you have done this, click on “Upgrade plan” and complete the payment to subscribe to ChatGPT Plus.
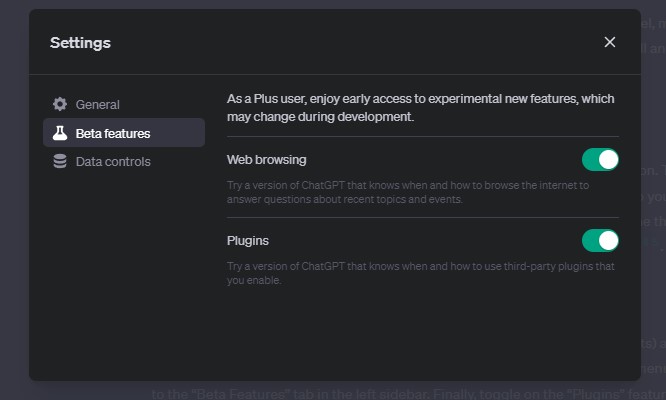
Step 2: Enable Plugins in Beta Features
After you have the ChatGPT Plus subscription, click the ellipsis icon (three dots) at the bottom left to open a pop-up menu. Then, click on “Settings.” In the settings menu, navigate to the “Beta Features” tab in the left sidebar. Finally, toggle on the “Plugins” feature to enable it.
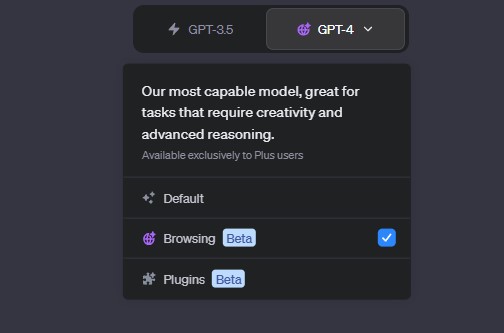
Step 3: Access ChatGPT Plugins with GPT-4
With the setting now enabled, you can start using plugins with the AI chatbot. On the main chat screen, click on or hover over the GPT-4 model option. From the list that appears, click on “Plugins” to switch away from the default setting.
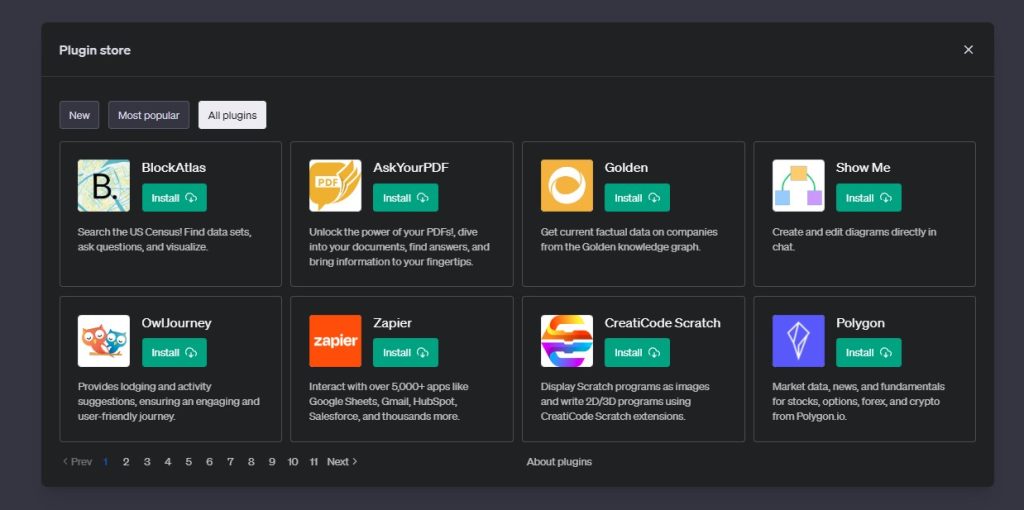
Step 4: Install ChatGPT Plugins from the Store
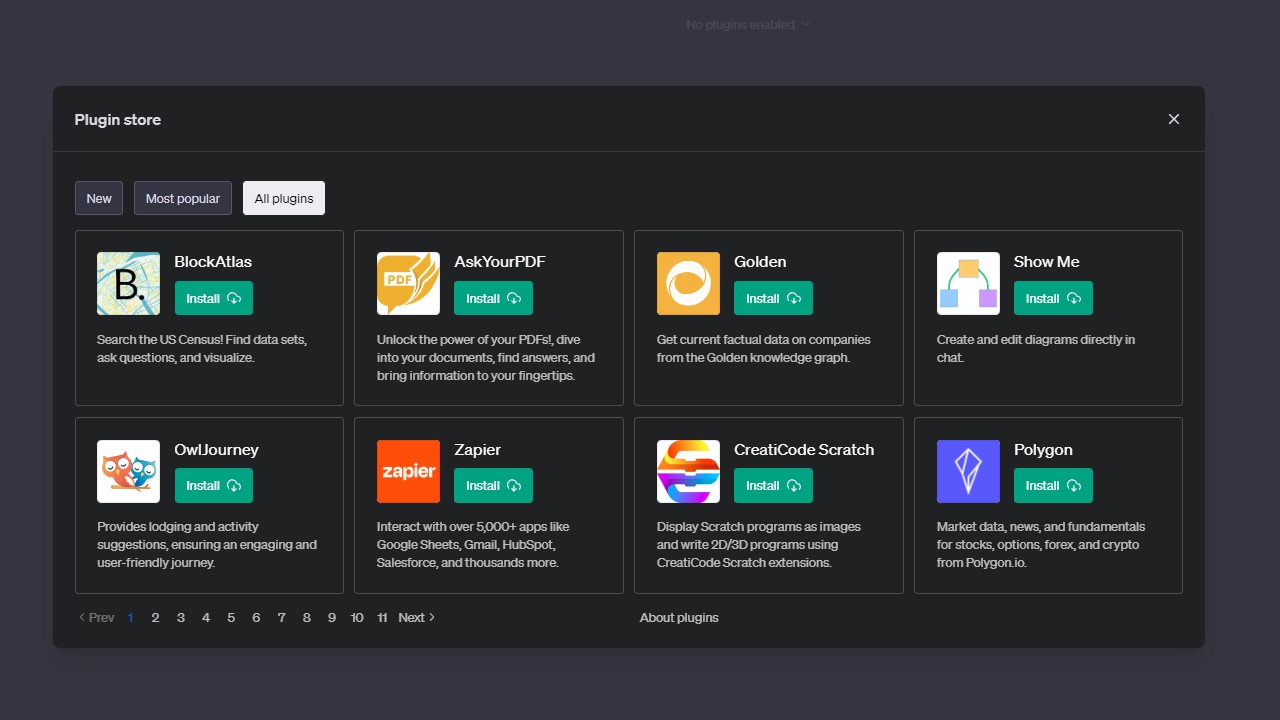
After switching to plugins, you will see an option labeled “No plugins enabled” here. Click it to expand the menu, and then click on “Plugin Store” to view a collection of plugins. OpenAI will display a disclaimer about ChatGPT plugins. Simply click “OK” to proceed. You will then see a store with different plugins to choose from. Once you’ve decided on which ChatGPT Plugin you want, click on the “Install” button next to it. The plugin should install within a few seconds, and you will see it in the dropdown menu mentioned above.
Step 5: How to Use ChatGPT Plugins
Once you’ve installed the plugin, you can start using it. Simply type out your request in the chat, depending on the function of the plugin. Press Enter to send the request, and ChatGPT will begin interfacing with the plugin and return a response quickly.
Note: While the above steps provide a general guideline, it’s important to understand the functionality of individual plugins as the usage might vary based on their specific features.
Please note that this article covers the basics of installing and using ChatGPT plugins as of the date of the source material (May 2023). For more recent updates or additional information, please refer to the official OpenAI resources or additional trusted tech news outlets.